24 March 2012
I'm having a hard time posting here on my blogger blog. I'm so happy with my NEW blog that I just want to work over there. But since this one is the one most of you will come to if you have it bookmarked I will stay here till the switch takes place. When I started this blog journey early this year I had big lofty plans of designing a cool blog and then doing the switch myself. Really, how hard could it be??
HARD. Extremely hard.
I found that out quickly. I was in tears more than once over it.
CSS code?? HTML?? SERIOUSLY?
And I thought I wanted to learn computer language? GAH!!
Blogger is SO easy to set up. Really. The coding is all done for you behind the scenes. And they do have a ton of options now. And it's free. BUT. You get what you pay for. Or don't pay for.
Blogging with Amy. She's got the best blog for helping you with setting up a Wordpress blog. And a ton of other tips. Check her out.
Anyway. The switch. From Blogger to Wordpress. I want the content from this blog to move to that blog, and all links to Sew a Fine Seam to be redirected to that blog. I could attempt it myself.
But I'm not.
There are too many things that can go wrong with a switch from blogger.
So I'm gonna let a professional do it.
Hopefully soon!
I'll keep you posted.
Good-bye blogger.
22 March 2012
Blog Reveal
OK so my 'Retail Therapy' Post below is all wonky :( I tried and tried and tried to get it to look like it was supposed to. Blogger would NOT cooperate. I am tired of blogger. I have been working on a new blog. I still have some things I want to add or change but I like the way it looks. AND. I DID IT MYSELF!!!!!!!!!!!!!!!!!!! Can you tell I'm excited about that fact? ? ?
I have spent many hours, frustration, and tears figuring it out. But with the help of some search engines, and by finally buying a theme, and by reading and following a lot of instructions from Amy from 'Blogging with Amy', and with a lot of encouragement and a little advice from my husband, and some input from a friend's husband, and by texting my sister, I did it. I will be adding to it, fleshing out some more of the pages, etc. but I am very pleased with what I have going on right now. Would you like to see it? You can!! www.sewafineseam.com SO SO SO happy to drop that .blogspot. Not going to miss that one bit.
If you take a peek at it would you let me know what you think? Pretty Please??
And the post on Pinterest is still coming - will be next week sometime.
Labels: blogger, blogging, blogging with amy, new blog, sew a fine seam, wordpress
Retail Therapy
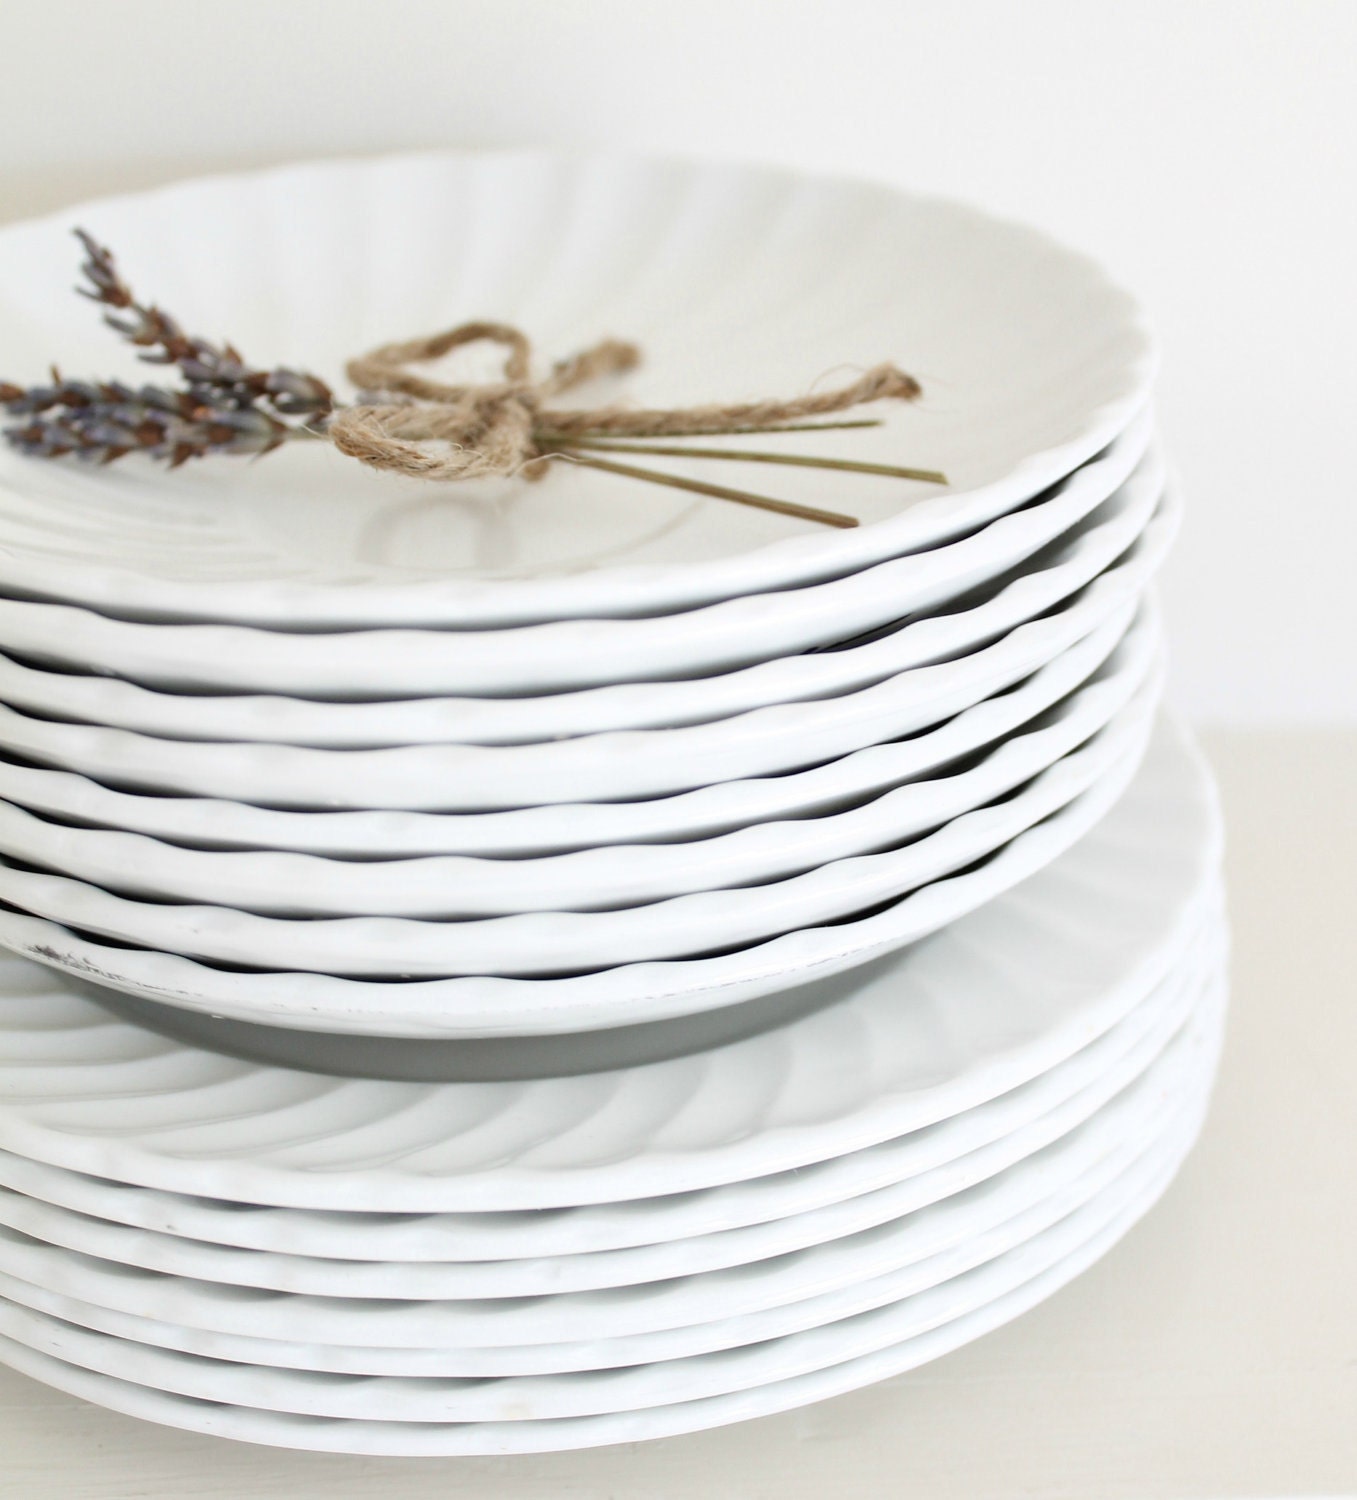
English Ironstone
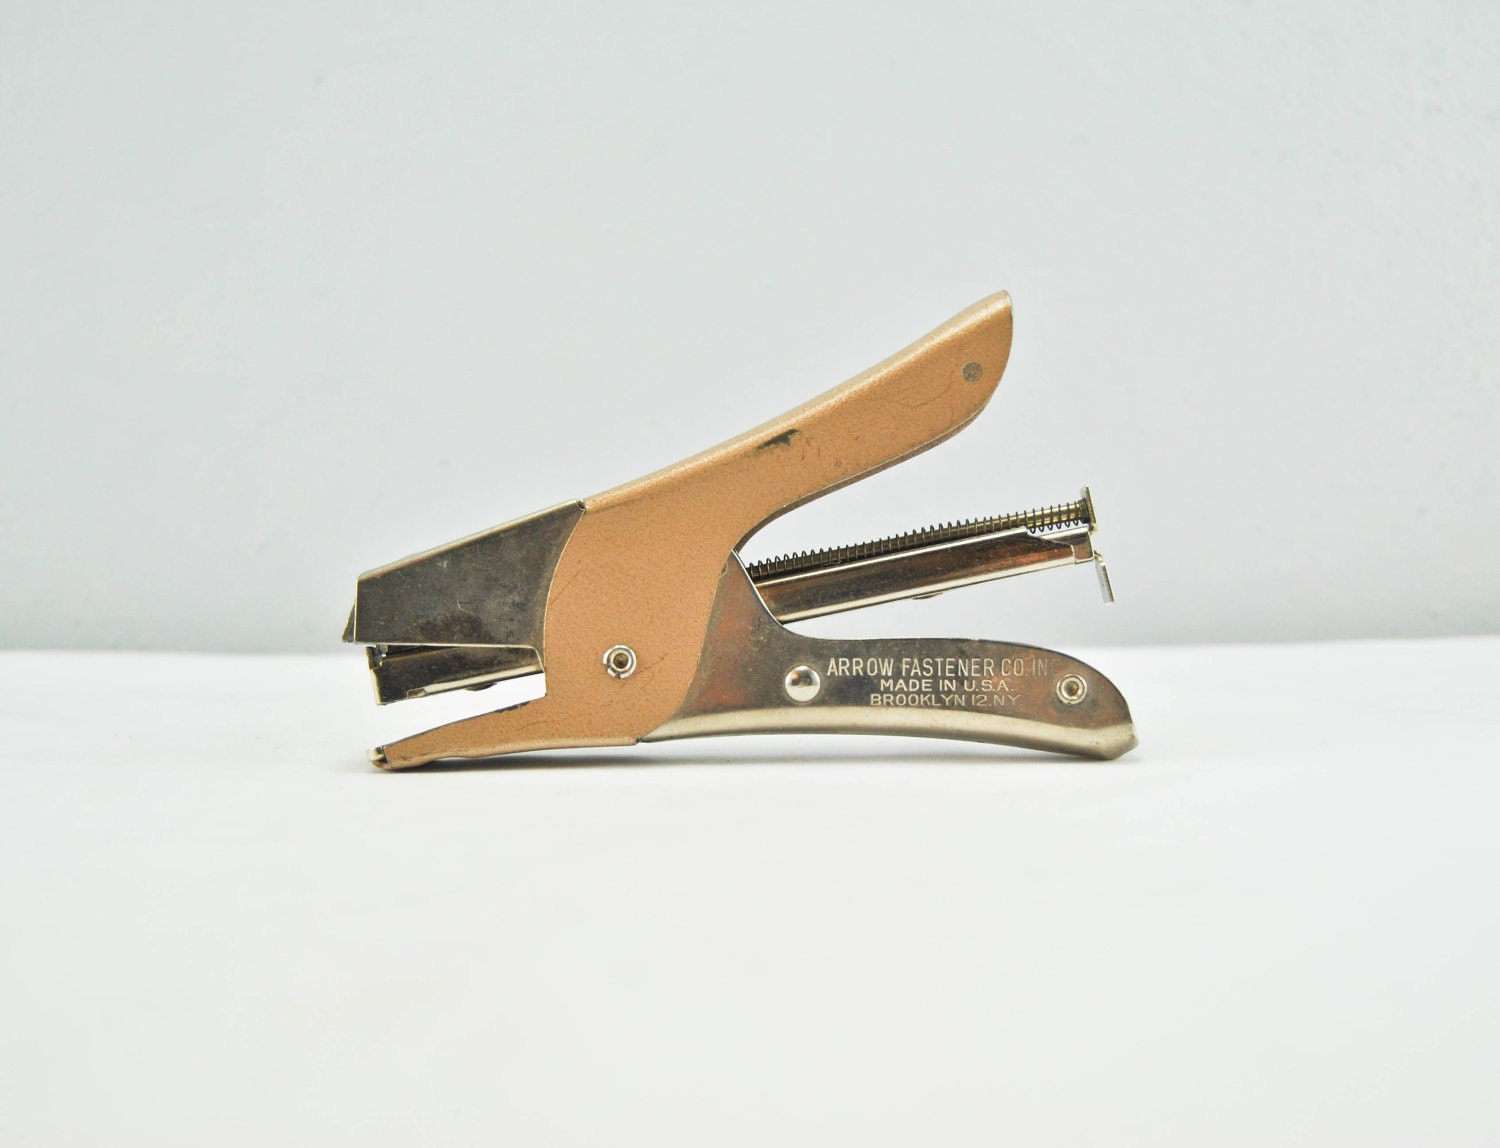
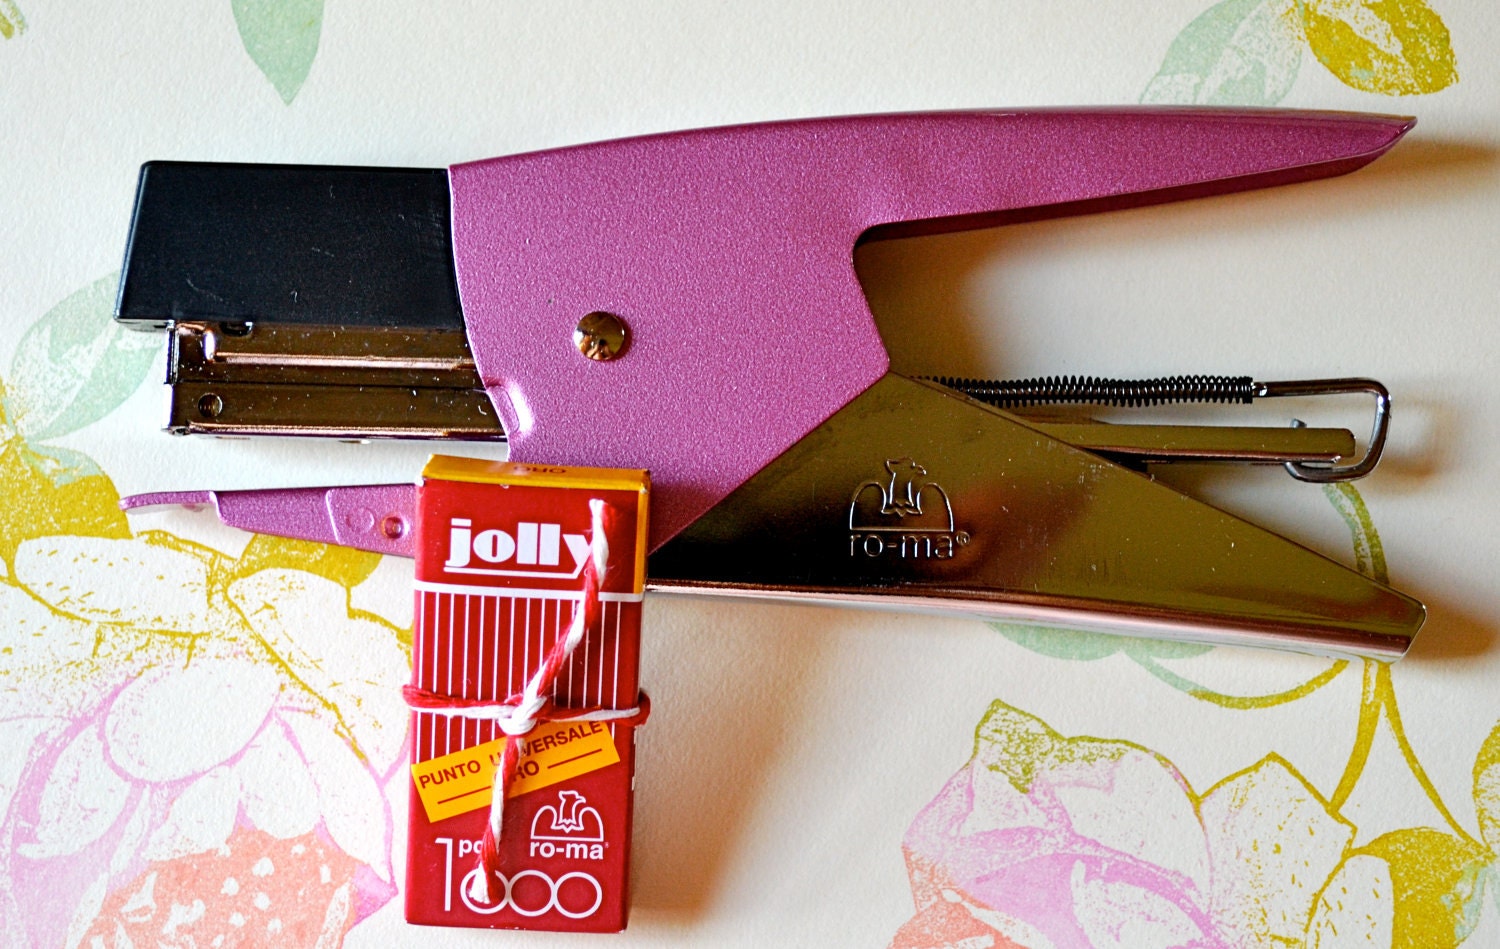
...this one?? Find this one here


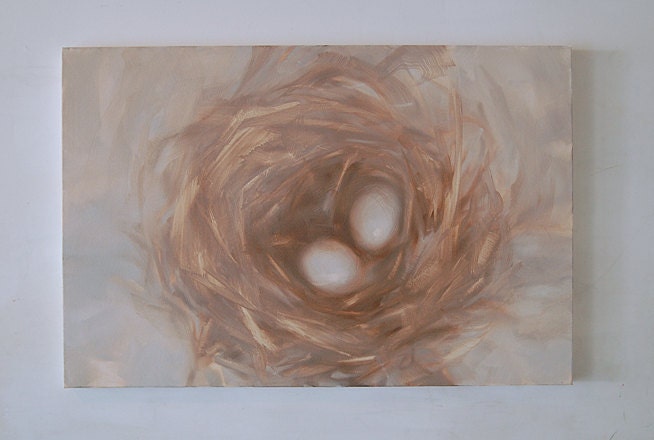
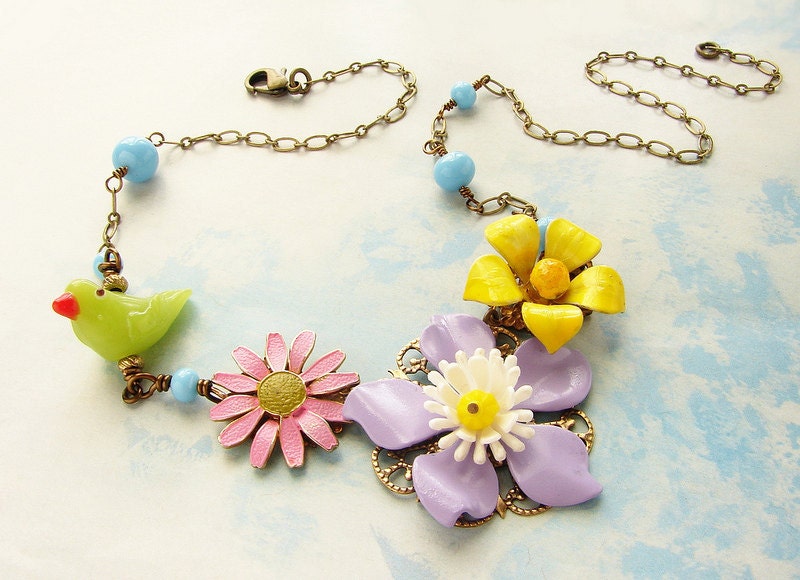 |
I really want this Necklace
Labels: burlap, etsy, ironstone, necklace, nest print, pillow, red letters, retail therepy, sewing machine, stapler, vintage
19 March 2012
Baby Shower
Here are a few photos from the baby shower I helped with recently. I really didn't do much to help, just went over the day of the shower and helped set up for it. I took a few pics that evening but with my camera issues I just couldn't get very many good ones.
Buffet table. The food was so pretty and so yummy.
Love the grass. I really want to plant some wheat grass myself.
Maybe I can talk my brother-in-law into letting me have some to take home with me!!
Vignette in my friends kitchen. So cute, I love it.
Globe on the center of the table. The paper chain is made from old maps.
I really like the map theme for a boy baby shower.
This baby's parents moved here from Africa! He is the most adorable little thing I've ever seen!
It was fun to be at a baby shower again. I have been very bad about attending them the past several years. It was just so hard to make myself get out in the evening, especially if I had to take my 3 kiddos with me, without Daddy. The girls are old enough now it's not really a big deal. And a 'girl's night out' is very fun now and then :)
Labels: Baby Shower, buffet, food, globe, maps, paper chain, vintage, wheat grass
18 March 2012
Baby Blankets
I recently made a couple baby blankets for baby shower gifts.
I found the idea for this blanket here.
I absolutely LOVE the look, weight, and feel of blankets made this way.
This one was for a baby boy - his parents are from Africa!
I added this bib to the gift. This was the last one I had left from the event last September.
The biggest trick to making this blanket is this cool little tool that I have for my machine. It's a quiltering tool. I had never used it and really didn't even know I had it. When I read the post I got the idea from, the author mentioned that she had a seam gauge that hooked to her machine that made it easy. I got to thinking that my machine SURELY had something like that!
So I dug out my manual and got to looking and sure enough - I did. Awesome.
It slides on through a small hole made for it and you adjust it however far from the needle you want your stitching to be. After the first line of stitching is made you use the guide to place your next line of stitching.
There are four layers to this blanket. The top 3 layers get cut between the stitching.
You wash and dry it after you do the stitching and cutting.
You can find the well written tutorial for this here. This is the one I followed and it was very easy to do.
Close-up of the edges. I think binding the edges would be neat too but I was too lazy to make binding to match the blanket.
I have an idea for using this technique for something else.
I will show you when I get to it - it's gonna be a rather big project!
So what do YOU think? Like it? Love it? Hate it? Are you a 'raw-edge' person or do you like things all neatly stitched, serged, and finished?? ( I am really into raw edges right now!!)
Labels: Baby, Baby Shower, blankets, fabric, raw edges, seam gauge, sewing machine
15 March 2012
Jeans Turned Skirt
So I have several things rolling through my mind I want to blog about. At the top of the list, or pretty close anyway, is Pinterest. I am having a love/hate relationship with it but not for the reasons I've seen others talk about. I really don't spend that much time on there. My issue is the legalities of Pinterest that are rearing their ugly heads. My post will take awhile to write as there is a lot, a lot, a lot of linking to be done and credit to be given, and some more research to be done. I have a ton of things to get done today so it will have to wait. Maybe I will write it while traveling in a few days!
For now I will show you a skirt I recently altered.
Jeans turned skirt. With ruffles. It's a win-win!
This was for a friends daughter.
Close-up of ruffles. I will try to do a tutorial of how this is done the next time I do one of these. It really isn't hard if you like to sew.
And the back.
Close-up of how I lay the back seam for restitching. I do the front the same way.
I really will try to do a tutorial of this. Lots of people love this look and it isn't hard. But there are a few tricks that would make it easier for you if you have never done it.
Now I'm off to get the laundry done, get Middle Sister packed to head out with Grandma and Grandpa for Kansas, and then to alter a couple things for me so I can take them Kansas with me when we leave. Oh yes, and I have to talk to the house/cat sitter about taking care of the place while we are gone. So nice to have someone to take care of things while we are out-of-town.
12 March 2012
Couture Snippets ~ Covering an ottoman
My photographer friend brought me this a LONG time ago to have it covered. She wanted it to use in her photography studio. It sat in my sewing room for so long the girls thought it was ours and were very disappointed when I got it finished and they found out we didn't get to keep it!
This is what it looks like now.
Below is a tutorial (sort of) showing how I made this slipcover.
Step #1. place top of stool on fabric and trace around it.
Step #2. cut out the circle. You can add a seam allowance if you want to. I don't always because if the fabric has any give to it at all it tends to come out too big and I wish I hadn't added the seam allowance. If you DO add the seam allowance and you decide the slipcover turns out too big you can always just take a bigger seam.
Step #3. measure around the stool...
...and measure the height of the stool. Cut out a piece of fabric the height of the stool plus enough for a hem and seam allowance x the measurement around the stool plus a seam allowance.
Step #4. Sew the large rectangle together.
You will have a tube. Press the seam allowance open
Step #5. Fold the round top piece in half and make small snips at the center on each side.
Fold in half again and mark the centers again with a small snip. This will give you 4 snips evenly spaced around the circle.
Step #6. Fold the rectangle piece in half with the seam to one side. Make a small snip at the edge opposite the seam. This marks the other side. Then fold in half again bringing the snip you just made even with the seam. Now make small snips on the opposite fold lines across from the You will now have 3 small snips and the seam evenly spaced on the rectangle piece.
(snip across from the seam)
Step #7. Pin the circle piece to the rectangle piece (that has been sewed into a tube)
You will match up those small snips.
When you are finished pinning it should look like this. Fits evenly all the way around with no stress and it is easy to make it happen when you mark your pieces with those little snips!
Step #8. Sew the seam you just pinned.
Step #9. Try it on for size. If you are happy with it at this point and this is the look you were going for, press that seam around the top well, pop the cover back on and viola!! you are finished!
If you would like to spiff up that cover a little, make it a little girly, a little foofy, or if you just love ruffles, continue on - I added a continuous ruffle to the whole thing.
1st step of the ruffle is to cut the strips. I measured them about 2 1/2 inches and made all my snips first, then tore the strips of fabric. I love a good raw edge :)
They will look like this and you will need a TON of them. Way more than you see in this photo :)
Step #2 of ruffle. Sew all those strips together. Since I was going for the raw edge look I turned the seam allowance out instead of in like you normally do with a sewn seam.
For the ruffling stage I used this wonderful little gadget. It is one of the best sewing investments I've made for awhile! I love it. It was around $40 I think and so, so, so worth it. If you like to make things with ruffles I highly recommend you get one. If you can't get one that works with your machine, I recommend a new sewing machine.
Step #3 of ruffle. Feed the beginning of the strip into ruffler.
See how cool this thing works? You can adjust it for how big each tuck is and how far apart for the ruffled look you want.
You will need a lot of ruffled up fabric for this project. I had to add more ruffled strips to mine halfway through because I didn't know how much it would take.
Step #4 of ruffle. After ruffling your strip start sewing it on. I just started at the bottom and went around. When I got around to where I started I just moved the ruffle up and went around again. Around and around and around and around and....
You can kind of see here where I started overlapping the ruffles when I got back to where I had started.
When I got to the top of the side piece I just continued onto the round top piece and went around and around to the center. Easy peasy!
It looked rather cute in my living room. I considered forgetting my friend wanted it for her studio and just leaving it in my living room. But then I thought better of it and took it to her!
So what do you think? Do you like the ruffly slipcover?
Do you think you could make one using my instructions or do I desperately need lessons in tutorial writing?
Labels: couture snippets, foot stool, ottoman, ruffles, slipcover

